Tuesday, May 22, 2012

Peanut Butter-Addicts Anonymous.

Hello all! 

 This week I made the tough decision to go on a peanut butter fast after speedily consuming 20 oz in approximately 5 days. 
I regret nothing. 

So, in order to compensate for this, I came up with an alternative to my dipping and spoon-feeding desires. Chocolate whipped cream. NOM! 

It’s pretty much the easiest thing ever, and I never use a full carton of whipping cream, so this is a practical solution to dispose of the remains. Very economical. How easy is that?

So here we go. 

Ingredients:

2 Cups whipping cream
1tsp vanilla
2-3 heaping tbsp of cocoa powder (depending on how chocolatey you want your whipped cream to be)
1/2 cup of sugar


It’s quite simple. You pour everything in a bowl and mix with a mixer or whisk until the cream forms soft peaks. Basically, this is when you could pull your whisk out of the mixture and have a lovely peak of cream attached. 


I love this because you can 
1. Use it as a PB substitute (for all you addicts out there)
2. Can whip it up all by yourself instead of going to the store and making yourself feel like a fatty - you just prepared a meal for yourself on a college budget! Look at how healthy you are! You home-cooking goddess, you! Not like all those other lazy college students who get fast food for their dinners. 
No sir-ee.


Anyway, I sprinkled mine with a bit of extra cocoa powder to make it look classy and then ate it with a peach I got from the farmer's market. It was a lovely evening. 
I wish you the same as you make this lovely recipe!


Wednesday, May 16, 2012

Refrigerator Clean-out Chicken and Peppers


This afternoon I made a lovely meal. Making this meal even more fantastic was the fact that I made it with  FREE CHICKEN AND VEGGIES. Yes. your eyes did not deceive you there my friend. My wonderful pal Joyce went on a trip to South America and I had the privilege of assisting her as she cleaned out her fridge. Its what friends are for. 


In the process, I snagged some seriously delicious goods. Today, I decided to put to use that chicken breast that had been calling out to me. And of course, I was feeling an Indian-themed adventure....and those are the only spices I have an abundance of.

So, after perusing food blogs for days looking for recipes, I just decided to make mine up. Let's adventure together. Please excuse the poor quality of my camera. It's not quite up to par with other food bloggers. But this is the college life. I can barely afford food and gas. 

Let us begin. 

Refrigerator Clean-out Chicken and Peppers

Ingredients:
2 tbsp Flour
1tbsp Breadcrumbs
2 tbsp Curry Powder 
1 1/2 tbsp Garam Masala
a pinch of Crushed Red Pepper Flakes
Olive Oil --- good olive oil!!!
1 Chicken Breast
1 cup Basmati Rice
1-2 Cups maranara sauce

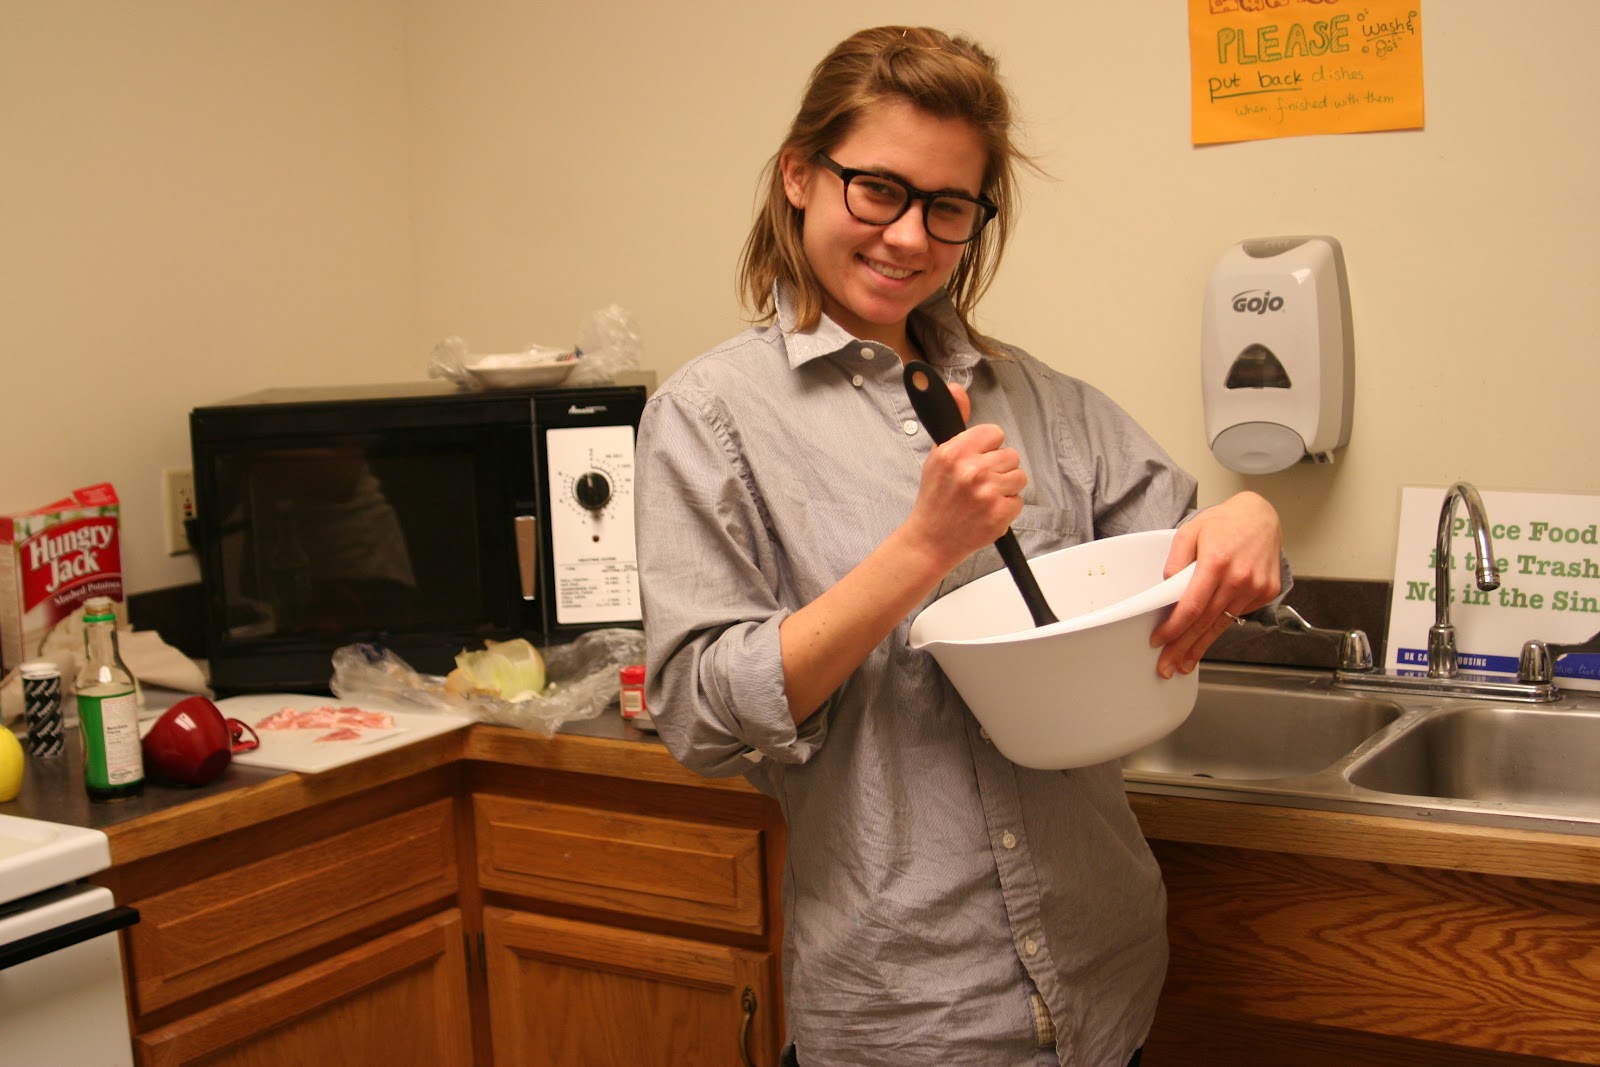
Mix your spices in a bowl. I totally added more curry powder after I took this picture. Don't judge.


 Add the breadcrumbs and stir it up. 


 Coat chicken breast in olive oil. Go on, embrace it and get your hands dirty (after you wash them of course)! Place the chicken in seasoning bowl and toss to coat


Heat about 2 tbsp olive oil in a non-stick skillet over medium heat. When oil is hot, add the chicken.

Cook for 5-8 minutes. Please don't turn it over every 3 minutes like me kids. It makes the process so much longer. Bobby Flay would be so ashamed. He hates frequent flippers.

Flip as you feel moved. I added a bit more seasoning to the opposite side before I flipped it... but I just really like curry powder. Let sit on this side for about 5 minutes. Check the inside by cutting with a knife if you're a real meat-cooking amateur like me.


At this point in the process, I came to the realization that I didn't have enough olive oil and proceeded to sprint to my room to grab some more. This step is of course optional for you, unless of course you enjoy some mid-cooking cardio.

I feel like I could host a KET program for that... I'd need to buy some sweatbands first. If only I had stylish male friends like Ina that could monogram me some!


Place the chicken on a warm plate or in a ziploc bag to keep warm. Don't you dare rinse out your skillet. Keep those delicious juices in there!


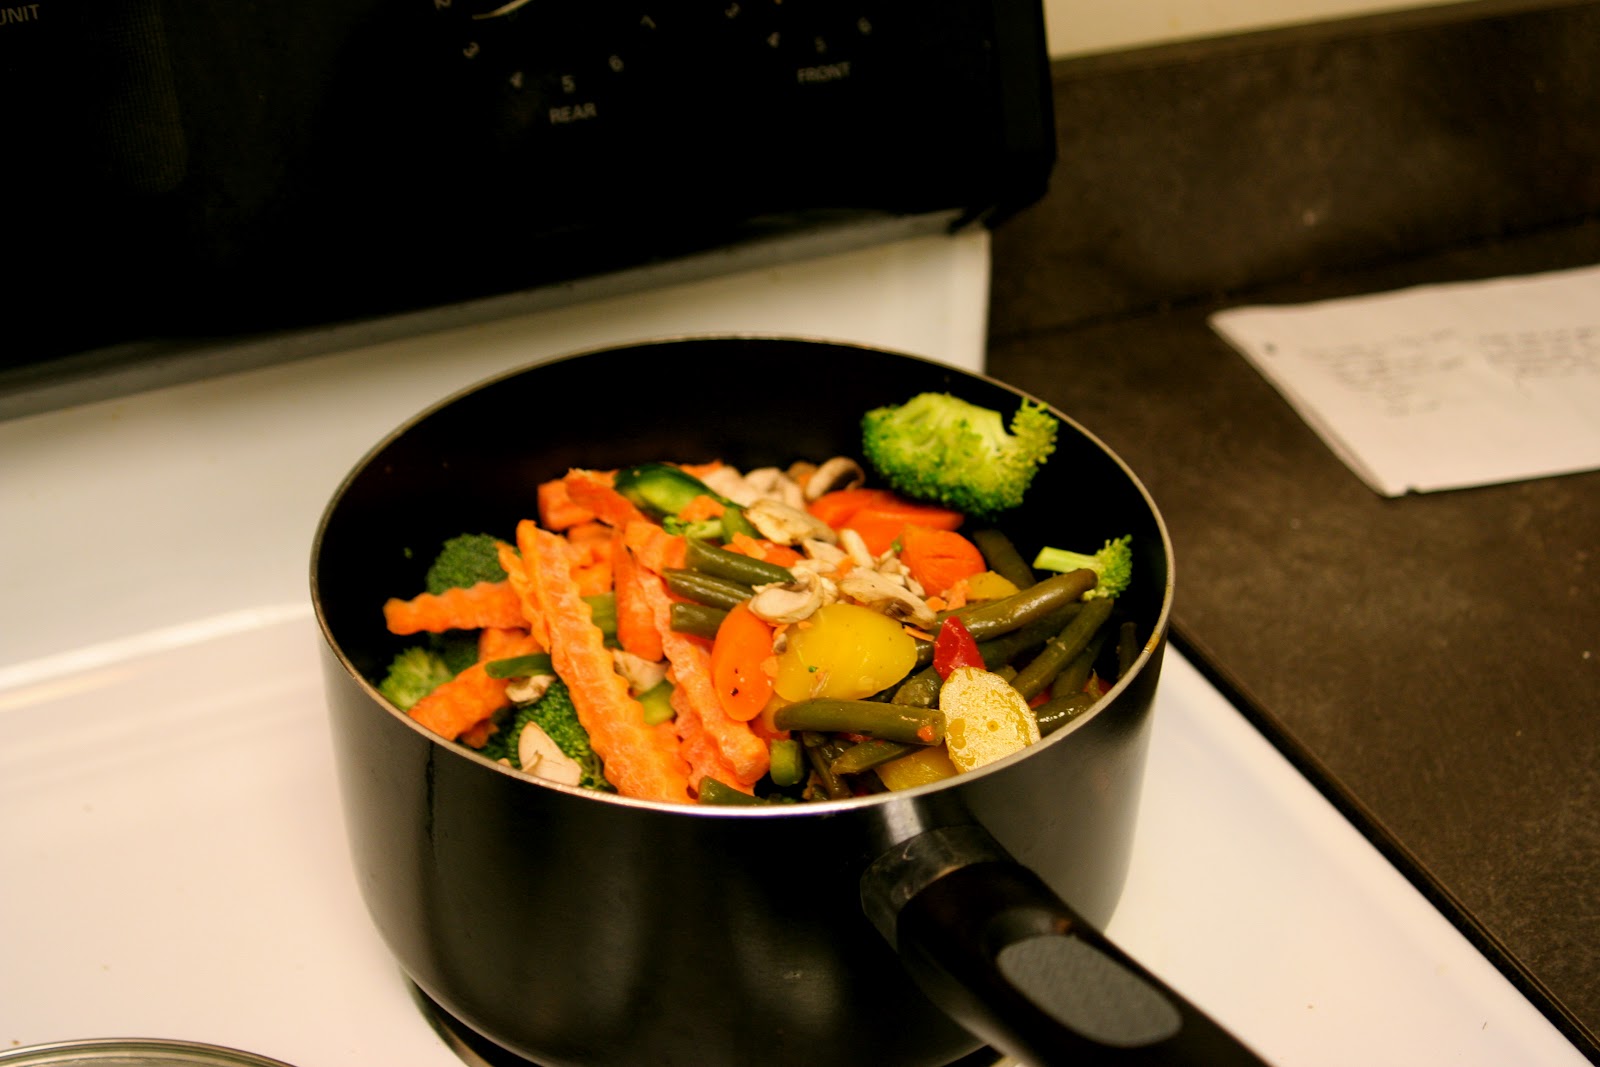
Reduce to low heat and add maranara sauce. Stir all those delicious leftover spices in there! Next, add in the cooked basmati rice. I had some leftover from the night before! Let sit for about 8 minutes, stirring occasionally.

If your chicken has cooled, take it out and let it sit in the pan for a bit with the sauce and rice as needed.

The moment has come. Plate that beauty!!


Doesn't it look lovely! Now take an excessive amount of close-up photos of it. 
Look at the rice! Isn't it pretty?


Look at the chicken. Congratulate yourself! And finally, dig in.


You can enjoy your meal with an Indian movie and a jug of Mango Lemonade like I did, or maybe you could waltz out to your patio and let the neighborhood drool at the scent of Indian spices.

Thursday, March 15, 2012

When Life Doesn't Give You Cauliflower... Make Curried Veggies!!!

Why, hello there. 
Oh is that you? Don't mind me, I'm just stirring away at delicious concoctions in my oversized button down.


Today, I was feeling an Indian vibe, which, if you know me, isn't that unusual. 
This recipe was supposed to be that of the lovely Aarti Sequiera as seen here. But the lovely cafeteria was not serving cauliflower today. Of course. 

After picking up the broken pieces of my Aloo Gobi dream, I moved on to other vegetables. 
I just grabbed a few basics for this recipe, which ended up being more along the lines of curried vegetables. But hey, it satisfied my Indian craving.

Quick and Easy Curried Vegetables

About 4 cups fresh veggies (I used carrots, broccoli, squash, mushrooms, and green beans)
1 tsp turmeric
3 tsp curry powder
3 tsp cumin
1 tsp red pepper flakes
1 tsp mustard seeds
Salt and pepper to tastey
1 cup of water, divided
2 tbsp olive oil
Bollywood Hits CD (essential)

To set the mood, turn up your favorite Bollywood or classical Indian music. 

Mix spices (except for mustard seeds) and 1/2 cup water in a small bowl to create your very own wet masala mix. Please add and subtract spices as you wish to maximize the tastiness to satisfy your personal palate. 


Warm the oil in a pot over medium heat until oil starts to move around a bit. GENTLY add in the mustard seeds. Be careful, if the oil is too hot they will explode all over the kitchen… I speak from experience. Though exciting, exploding, burnt mustard seeds are not exactly a crowd pleaser. 


Next, add the wet spice mix and cook until the oil starts to gather and bubble up a bit on the edges.    


See... PRETTY!!

Add the veggies and another ½ cup of water. Stir together until the veggies are coated evenly. Add more spices as needed.


Any questions? Fell free to email them to us on our "Ask Contessa" feature on the website (Not really though, we aren't that high-tech yet). But I look tech-savvy here next to my fancy laptop and popped collar, yes?
 Good. I'm glad you agree.


Cover and cook over medium heat for 15-25 minutes.    

TA-DAH! Your veggies are thoroughly cooked and delicious.

We are sari* to report that the veggies were devoured before they were photographed. My photographer and I were far too hungry and delirious to remember to take pictures before we devoured the evidence. If you would like to share your curried veggie photographs, feel free to post them below!


Sunday, February 19, 2012

Home Cooking - Finally!

Hello all!

    It has been quite some time since we have posted about our culinary adventures, but I have decided to break this hiatus with tales of my visit to my best friend's abode this past weekend. 

     Let me tell you a bit about Anna Grace first. She is a wonderful, beautiful woman who helped to spark my interest in the wonderful world of cooking. We met in the dorm last year and became great friends, but we both seem to agree that our friendship was truly solidified when we made naan pizzas together for the first time (I promise, we will teach you sometime!)

    When describing Anna Grace to any human being, I cannot do so without using the words "CULINARY GODDESS." Anyone who has ever met her would say the same. She is attending culinary school in the fall so watch out world! She's about to tantalize your tastebuds with her genius and natural talents. 

     A dear friend of mine and I went to visit her lovely abode this weekend and were welcomed by a beautiful home-cooked meal. I thought I would share it with you all so that you could drool at its beauty...really, I just wanted to gush about it to someone and my fiancĂ© probably wouldn't fully understand like you beautiful people. 

     The menu was as follows:
Swedish Tea Rolls
These were so delicious! We scraped up all that cinnamon sugary goodness that oozed out quicker than you can say "gluttony." Twas a bonding experience.  

Fresh Fruit Salad

Dill, Green Onion, and Ham Fritatta...

...with a dash of parmesan cheese!!!
NOM! I was drooling for the majority of the time, which unfortunately made it quite difficult to make conversation.

     I have never been able to cook a perfect fritatta, but Anna Grace is clearly a master at her art and wowed us with her abilities to master the impossible in the cooking world.
    
     Everything was so delicious and the family was so welcoming! We love them all dearly! 


Monday, November 28, 2011

For Unto Us, Another Macaroni and Cheese Recipe is Born!

I hope that wasn't borderline blasphemous...

The Thanksgiving holidays approached, and this Collegiate Contessa escaped away to a magical land of clean kitchens, useful (and not broken) gadgets, and a spice rack that was alphabetized and organized by name and spice genre.  So unto the blog, another macaroni and cheese recipe was created; this time with a different sauce. This recipe is a little more complicated, and takes more preparation and focus than the last.  So hang on, watch closely, and get your grating hands ready because this one calls for a lot of cheese.

What  You'll Need:

3 Cups of freshly grated sharp cheddar
1 Cup of  freshly grated Gouda Cheese (NOT smoked)
1 Cup of  freshly grated Pepper Jack cheese
2-3 Cups of milk
4 Tablespoons of butter
1/4 Cup all-purpose flour
1 Box of elbow macaroni
1 Tablespoon of garlic powder
2 Teaspoons of nutmeg
Salt and pepper to taste

The Preparation:


Go ahead and get the pasta started at a rolling boil, olive oil and salt thrown in the water.  Put a lid on it.  Walk away.  Let it go crazy.

....meanwhile...

Caution...This is gonna be messy.
Get out your cheese grater, and get ready.  This is long, laborious, and messy, but totally worth having freshly grated cheese.  It helps if you put the device right over the measuring cup, that way you don't have to estimate the entire time you're doing it.  Measure out at least three cups of sharp cheddar to start with.  Honestly, you'll probably need closer to 4 or 4.5 cups of the cheddar, but use your best judgement as you go along. Layer the next two cups of cheese on top until your measuring cup is bursting with cheesy goodness.  Once you have the cheese prepared, measure out the rest of your ingredients and have them ready in the following sequence:

Butter, Flour, Milk, Cheese, Spices.

(Now is a great time to check your pasta to make sure it isn't doing anything shady.)

In another pot over medium heat, start melting the butter until it is fully liquid.  I usually let it start to kind of boil before adding in the flour, but if you're not comfortable with this, then just get it to a liquid state.  Add in the flour, and start stirring like crazy.  The butter is going to mix in with the flour and create a sort of slurry in the bottom of your pot.  This is totally normal, so don't fret.  While stirring, slowly add in the milk and continue stirring.  It is crucial that you do not stop stirring during this process.  Milk can easily scald if you aren't diligent about watching and continually stirring, which will mean scrapping and starting over if you aren't careful.  As you stir, the milk will start to thicken up until it is at a very smooth and dense consistency.  Turn the heat down to between low and medium heat, still stirring, and slowly add the cheese until it is fully melted and smooth into the milk and butter mixture.  Add cheese as you see fit.  (Word of advice: Extra cheese is always a crowd pleaser!) Add in the spices next and stir once more.  Add more spices as you see fit; again, this is a taste-as-you-go type recipe.

Oh...Oh, man.  
Drain your pasta until all of the water is gone, and add it directly into the pot of cheese, stirring slowly.  Fold the macaroni into the mixture until all of the leetle elbows are fully drenched in the cheesy goodness you've created.  Place in a dish that has been sprayed lightly with a little cooking spray, and sprinkle about a quarter cup of your favorite cheese on top for garnish.  Dish out or eat it directly from the pan, and enjoy!


Delicious, right?

Wednesday, November 23, 2011

From Disaster, Success is Born


So after the pumpkin massacre when I successfully mutilated an innocent pumpkin (all he wanted from life was to be a beautiful jack-o-lantern)…after that, and through that came something beautiful. Yes. You’re peeking ahead at the pictures aren’t you? I knew you wouldn’t be able to resist. Its pumpkin seeds time.

Cinnamon-Sugared Pumpkin Seeds

Pumpkin Seeds (cleaned)
Cinnamon
Sugar
Chai Spice (optional)

Place wax paper on baking sheet. Spread out seeds on sheet and toast pumpkin seeds in oven at 30 F for 30 minutes.


Remove from oven and toss seeds in olive oil, just to coat very lightly, cinnamon, and sugar. Return to oven and bake for 20-30 minutes or until golden and delicious.


Place in a precious little glass jar and share with your friends (and residents)!

Thursday, November 10, 2011

Once Upon A Pumpkin...

     Once upon a power weekend there was a young pumpkin. He was specially chosen by hand. Selected with the utmost care by a young ambitious college girl, with culinary dreams of journeying with him into the wonderful land of baking.


     This would be a new experience for the both of them. She was anxious but eager, a light growing brigeter in her eyes at the mere mention of his name and their future together. She knew he was the one and she was ready to take the next step in their relationship. One Saturday, they took the plunge.
    
 Despite warnings from her wiser friends that he was not the right kind of pumpkin, she pushed all advice away and begn to carve the pumpkin.

… it was a disaster


So my lovely friend Evan went to the store and got me a big o can of pumpkin. And all the world was right again.


And thus pumpkin cream cheese spread was born.


Pumpkin Cream Cheese Spread
1 big o can of pumpkin
2 8oz packages of cream cheese (softened)
Cinnamon
Vanilla Extract
Honey

Combine all ingredients in a bowl and stir. Add honey, cinnamon and vanilla for taste as desired. 

Enjoy!